This post may contain affiliate links. Read my disclosure policy here.
Looking for an easy buttercream frosting recipe that is quick and simple to make? I hear ya mom! I know how intimidating homemade buttercream frosting can be, so I’ve got the easiest buttercream frosting recipe that you must try!
Are you looking for an easy buttercream frosting recipe? Or are you actually wishing you didn’t have to make buttercream frosting at all and hoping I’d tell you that you can just go buy a tub of premade frosting form the store and call it good?
Hang tight and I’ll explain how you should use the store-bought frosting, and when you should choose to make your own easy buttercream frosting. And I promise you, you can use both and not lose your mind the process! And, I also promise, making your own easy buttercream is not nearly as hard as you think, especially if you use my recipes! Keep reading to learn just how easy buttercream frosting can be!
WISH PLANNING A PARTY WAS A PIECE OF CAKE?
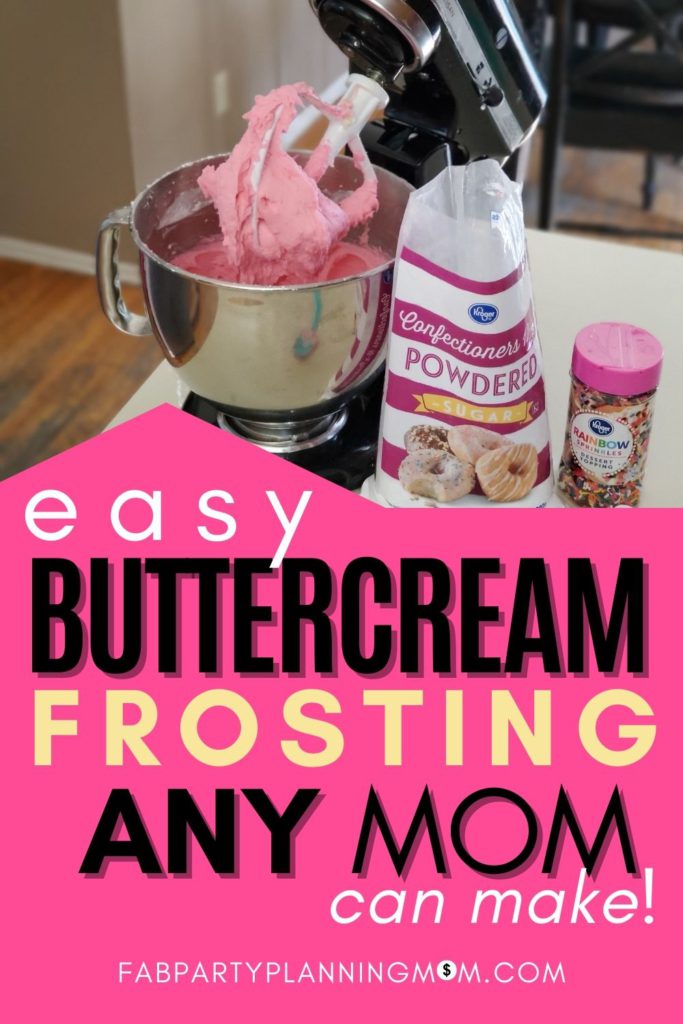
Want to remember this post? Pin this post, Easy Buttercream Frosting ANY Mom Can Make, to your favorite Pinterest board right now!
Can’t Make Buttercream?
If you are anything like me, then you might be very intimidated by the thought of making homemade buttercream, and actually using it. I remember when I was a new mom, I really wanted to make a homemade cake for my oldest son’s 4th birthday.
He loved firetrucks at the time, so I had planned a firetruck party for him. I wanted to attempt to make a firetruck shaped cake for his party. You see, my mom had always been very good at making cakes and decorating them and had always been the one to make the cakes for my kids.
But, this time, I wanted to do it myself and since my mother-in-law was visiting at the time, I asked her if she wanted to help me attempt to make the cake. Of course she did, she’s absolutely amazing and is always willing to lend a hand.
Buttercream Intimidation
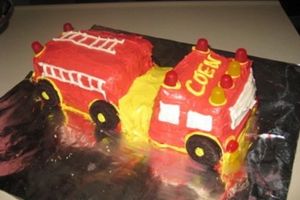
I had no idea what to do and was very intimidated about the idea of making the frosting and the cake. I looked up ideas on Pinterest and got to work. After hours and hours of work, my cake sort of resembled a firetruck, and I was proud!
I learned a lot about frosting and that having an outdoor birthday party in the middle of June with a frosted 3-dimensional cake is not a good idea. Before the party was over, my cake stared to melt!
You Don’t Have To Be A Professional Baker
Despite my melted cake, my desire to at least attempt making a cake for my son pushed me through that wall of homemade buttercream frosting intimidation and I’ve never looked back!
I may not be a professional cake decorator, but I can tell you that my kids have never cared about that! Thankfully, they appreciate all my attempts at making birthday cakes for them and I can assure you that your kids will too!
So, if you are worried you can’t make easy buttercream frosting and actually use it, don’t be! It may not look great the first time, but you can do a lot more than you give yourself credit for – I’m positive. The best thing you can do is just try and keep trying.
Eventually, you’ll get the hang of it and will probably start to really enjoy using homemade frosting and even making more detailed design techniques. You might even discover that you have a knack for cake decorating – but you’ll never know unless you try!
How To Use Store-Bought Frosting
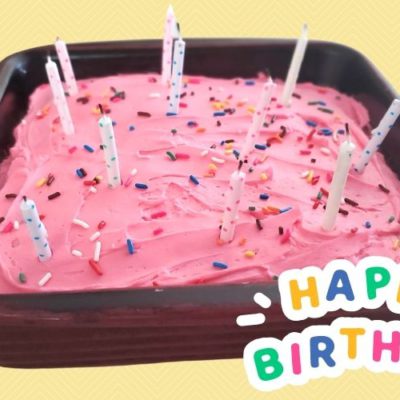
If you are not fully ready to try homemade frosting, but want to make a simple cake for you next party, then I’d suggest making a birthday cake in an 9 x 13 pan and serving it in the pan.
Use a boxed cake and once it’s baked and cooled completely, with a knife spread the store-bought frosting all over the cake very gently. Then add some multi-colored sprinkles to the top and call it good. You can do the same with cupcakes if you’d like.
This is an excellent option if you are low on time and need to get a cute cake make quickly. Here is my favorite Easy Kids Birthday Cake For Moms Who Hate To Bake. You’ll love this cake. Not only does it taste good, but it’s fast to make and it uses a boxed cake and a tub of store-bought frosting.
Keep reading if you want to attempt to make homemade easy buttercream frosting – and I promise it’s much easier than you think it will be!
How to Use Homemade Buttercream Frosting
If you want to make fun swirls or actual decorations on your cake or cupcakes, you’ll need to make this easy buttercream frosting and apply it with a piping bag. Now, don’t be scared! You can do it! Just follow these instructions and go for it!
Easy Vanilla Buttercream Frosting Recipe
Ingredients:
- 1 cup softened butter (2 sticks)
- 4-5 cups of powdered sugar
- 1 tsp pure Madagascar Vanilla
- 5 Tbs of heavy cream, milk, or half and half
- ¼ tsp of salt
Instructions:
1. Soften Your Butter
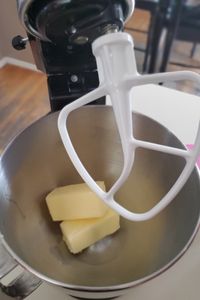
Set out your sticks of butter on your counter and let them soften on their own. Depending on the temperature of your kitchen, this can take a couple hours – but it’s a much better way of softening butter than using the microwave. You do not want to melt the butter because your frosting will break and curdle.
If your butter is not soft enough when you start to make this frosting, you will have small lumps in your frosting as soon as you add the cold milk.
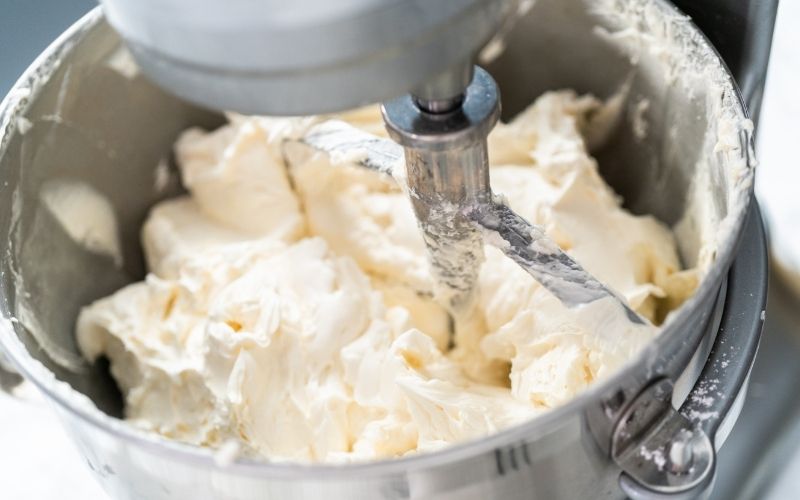
Wondering how to know if your butter is soft enough? If you are not sure, then once you add your butter to your stand mixer (like a Kitchen Aid) beat it alone for at least 5 minutes on high and let it whip. If you don’t see any small lumps in it, then it’s ready.
I like to set out my butter first thing in the morning if I know I’m going to be baking later and let it soften while I get my kids ready for school or while I take a shower.
After your butter is softened, add both sticks to your stand mixer – do not attempt to make frosting with a hand mixer – it just never works. Beat your butter on high for 1-2minutes and let it whip up.
2. Use Good Vanilla
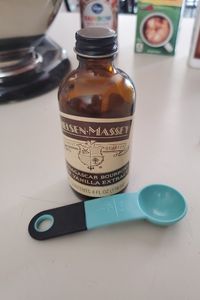
Next add your vanilla and continue beating on medium. I think that high quality Madagascar Vanilla is extremely important to the flavor of this frosting. If you want a great tasting vanilla, this is how you can achieve it.
3. Powdered Sugar & Cream
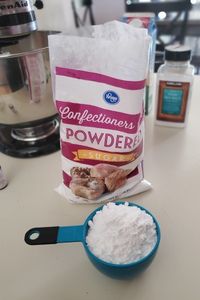
Then add the 2 cups of powdered sugar and beat on low until it’s mixed in. If you turn your mixer to high speed, you will splatter sugar all over the place!
Trust me, I’ve done this many times and it’s a big mess. After it’s well mixed, add 2 more cups of sugar and beat on low until mixed.
Add 5 Tbs of milk or cream and beat on high for 2 minutes.
4. Frosting Consistency Is Important
Check the consistency of your frosting now. Turn the mixer off and using a spoon, scoop up some of the frosting and turn the spoon upside down and see if it sticks to the spoon. If it does, you are set.
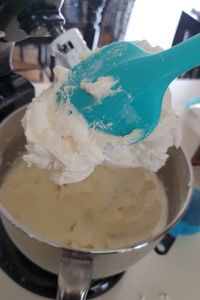
If it starts to easily slide off then add 1 more cup of powdered sugar and beat on high for 1-2 minutes. You want your frosting to hold together and slightly firm, but not too thick or firm.
It needs to hold together, but also be able to easily slide out of a piping bag.
You can always thin the frosting by adding just a little bit of cream – a teaspoon or less. And you can make your frosting thicker by adding more powdered sugar if you need to.
Keep in mind that the temperature of your kitchen does matter a lot. If it’s a warm day, your frosting might need more sugar to hold up and you may need to cool it in the refrigerator before you attempt to use it.
What If My Frosting Breaks?
If your frosting looks funny and is runny and lumpy, then it’s temperature is too warm to the points it’s broken and you’ll need to start over. Yes, this has happened to me and it’s super annoying, but it happens to everyone and if you attempt to still use it, your decorations will not hold up and the frosting will look melted. Do yourself a favor and just throw it out and start over.
Color Your Frosting
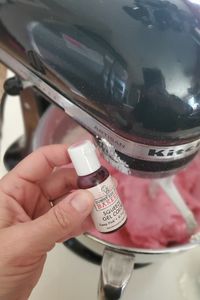
This easy buttercream frosting is the perfect pallet for you to do a lot with it. You can color your frosting by adding gel food coloring to the mixer – just a few drops. I like to use gel frosting because it seems to create brighter colors without having to use as much coloring.
If you use the liquid drops, keep in mind that you may need to add a bit more powdered sugar to thicken your frosting for decorating because of the extra liquid you’ve added.
If you want to have a few different colors, just separate your frosting into bowls and add the food coloring and hand mix the frosting.
How To Use A Piping Bag
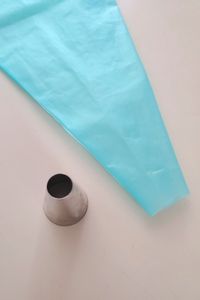
Now that you have some great frosting all ready, let’s frost some cupcakes. You will need to get some silicone piping bags and big circle tip. My favorite, and easiest tip to use is a big round tip, either Wilton 1A or Wilton 2A.
WISH PLANNING A PARTY WAS A PIECE OF CAKE?

Bake boxed cupcakes and let cool completely. If you don’t allow them to cool all the way, your beautiful frosting you just made will melt and look a messy once you add it.
Start with your piping bag and if the tip is not cut, make a small cut at the end with scissors.
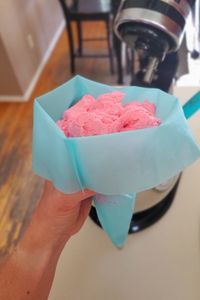
Then add the big circle tip inside the piping bag and push to the end to make it secure. Fold down the edges of your bag and add a big dallop of frosting to the bag.
Don’t fill the bag all the way up because you’ll need room to twist the bag closed.
Fill, Twist & Squeeze
Filling a piping bag can get pretty messy, but just remember not to overfill the bag. Make sure you have enough room to twist the bag closed.
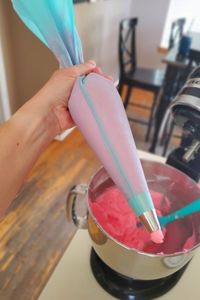
You can always add more frosting as you use it up, so don’t feel like you have to fill it all the way up.
Keep adding frosting until the bag is 3/4 full. Then twist the bag to close and squeeze down the frosting into the tip. Continue to twist the bag closed and until you see a little bit of frosting squeezing out of the tip.
Pipe Your Frosting
Now it’s time to pipe your cupcakes. Before you begin, you might want to try making a swirl on the counter first.
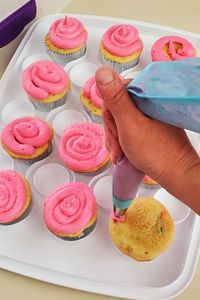
Using a cooled cupcake start on the outside of the cupcake and squeeze your frosting in a circle around the outside and continue squeezing in a tight circle until you have covered the entire top of the cupcake.
You can see a video of how to frost your cupcakes by clicking this link.
That’s it!
Add Cupcake Toppers
Now add frosting to all your cupcakes. Finally, add some colored sprinkles and call it good. If you want to add cupcake toppers, now is the time.
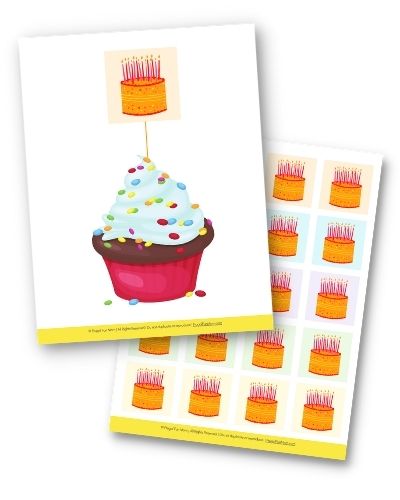
We have some very cute Happy Birthday cupcake toppers included in our Instant Party Toolkit and they are perfect for any birthday party theme you might have.
That’s it! See, I told you easy buttercream frosting doesn’t have to be hard to work. It tastes fantastic and is quick and easy to use. Plus, it looks great when you master the piping bag.
Make a Mistake?
If you make a buttercream frosting mistake, not a problem. Using a knife, gently scrape off the frosting and start over.
No one will be the wiser. You can also practice on the counter until you master the swirl – just don’t practice too much or you might have to make extra frosting!
Easy Buttercream Frosting That ANY Mom Can Make
There you have it! My super easy buttercream frosting recipe that any mom can make – including you! Like I said earlier, I’m not a chef or a master baker – just a mom who loves to throw fun parties for my kids and thinks any mom can do the same too!
Remember, we are not after perfection here, we are after fun and encourage all attempts to try! Go ahead and give this easy buttercream frosting a try on your next birthday cake or cupcakes you want to make.
If you are looking for a super easy Birthday Cake you can make that tastes delicious and is easy to make, especially if you hate to bake, then you’ll love this recipe – Easy Birthday Cake Recipe For Moms Who Hate To Bake.
Feel free to comment below with any questions you have, and I’ll do my best to help you solve them. Plus, I’d love to see what you create! Tag me on Facebook or Instagram with your amazing creations! I can’t wait to see them!
Way to go mama! I’m so proud of you!
Other Party Planning Tools You Might Like:
Speed Party Planning Checklist
Wondering where to begin when planning a party?
If you want an easy tool that can help you begin the planning process for your next party, then our Speed Party Planning Checklist is the perfect first step!
Plus, it’s my gift to you – hurry, it’s only free for a limited time! You can grab it here.
Speed Party Planning Tool Kit
It’s no secret that having all the nitty gritty details organized for your upcoming party will help you feel calm, relaxed and ready to focus on the fun!
This tool kit includes 6 party planning worksheets, including our wildly popular Speed Party Planning Checklist! Plus, a lot of extra resources.
This pack of resources will help you organize and plan your party details fast – in less than an hour!
Choose Your Party Guide
Our must-have guide includes three completely planned party plans leaving you with only one decision – simply picking which one works best for you & your child!
WISH PLANNING A PARTY WAS A PIECE OF CAKE?

Planning your child’s birthday party doesn’t have to be stressful – if you have the right tools! Yep, you can throw an in-home party without spending a lot of money, and I promise you won’t lose your mind in the process!
In fact, you’ll be super proud of yourself!
Instant Party Toolkit
Did you wait until the last minute to put your child’s birthday party together? Our Instant Party Toolkit is just what you need! This bundle of essential printables is just what you need to throw a fabulous party for your child in an hour or less, and includes
This digital toolkit is full of printables you can simply print out and know you have everything you need from decorations to invitations done and ready to go!
If you wish party planning wasn’t so hard, and want to finally learn HOW to plan a party the easy way, you’ll love this system! In this system I teach you 8 lesson on how to plan all aspects of a party the way I do it!
FAB Party Planning System is just what you need to plan amazing parties for years to come!
Want to remember this post? Pin this post, Easy Buttercream Frosting ANY Mom Can Make, to your favorite Pinterest board right now!

